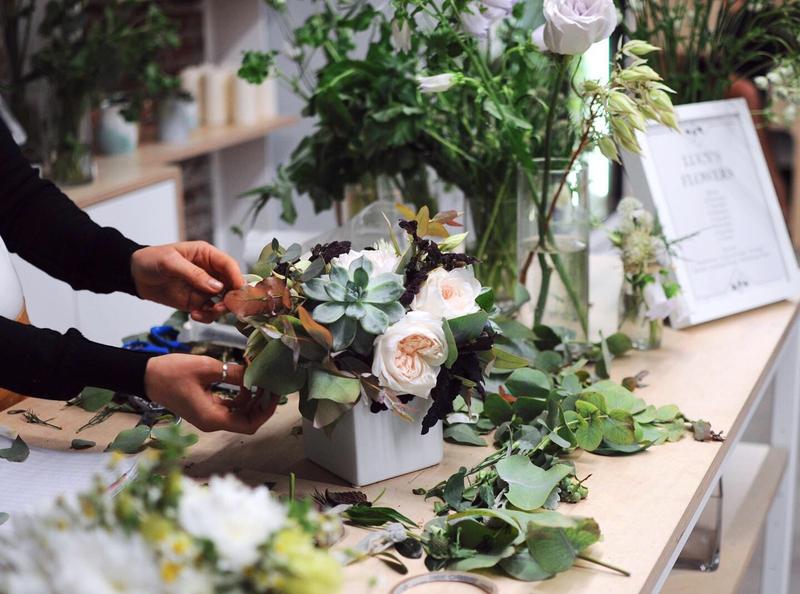
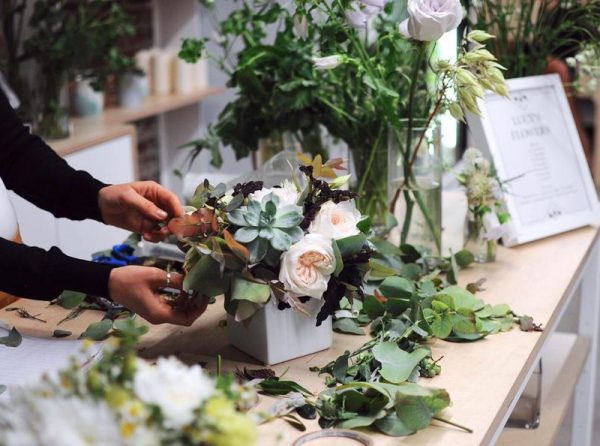
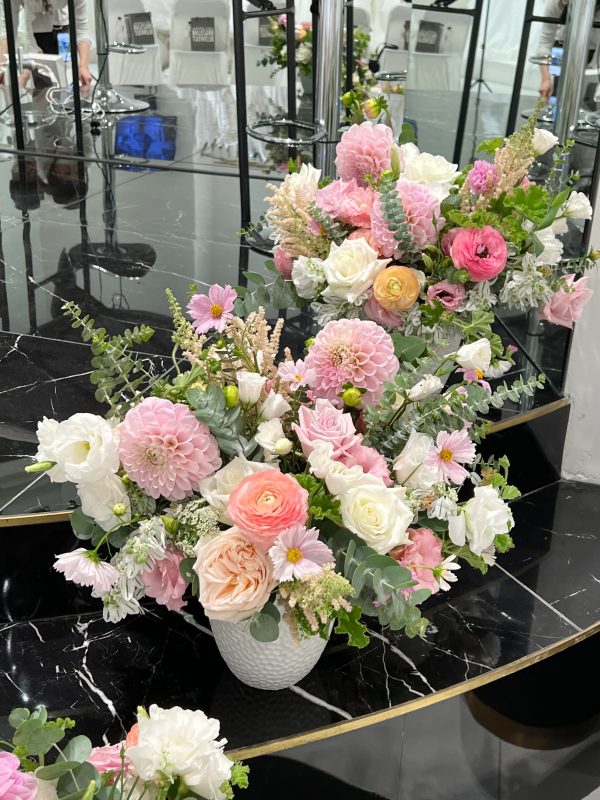
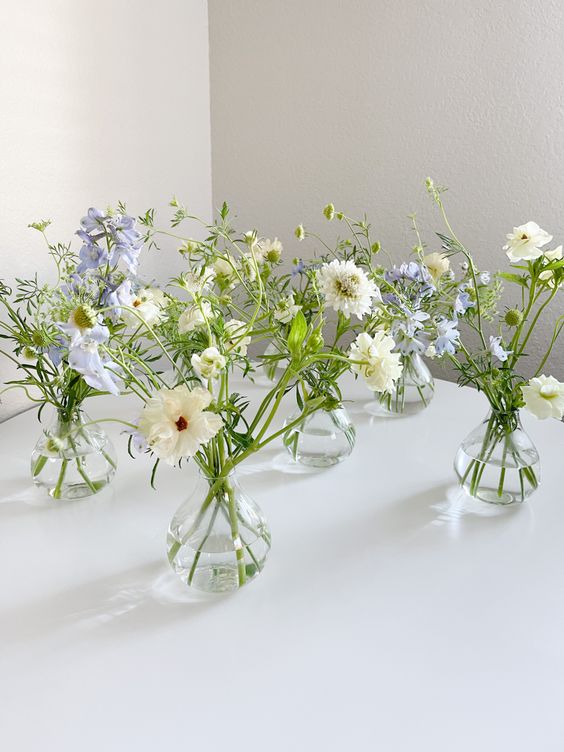
DIY Bouquet Tip #1 Mix and match – remember most great things come out of random experiments.
The options are limitless, don’t box yourself in to some combination of flowers. You’re the queen of that bouquet, better start acting like it.
Do what works for you and the budget you’ve allotted.
DIY Bouquet Tip #2 Flowers are seasonal, keep that in mind
We’re not sure if you knew, but most flowers grow only in particular months.
Peonies, for example, aren’t readily available in the summer months. Hydrangea, on the other hand, can be found all year round, as they’re grown in green houses.
What you need:
- The flowers of your choice
- Foliage
- Raffia or string
- A small vase
- Water
Choose your stems
Step 1: Get the flowers You can buy the flowers from either a flower market, an online wholesaler or even a grocery store. Decide what you’re budget, then go on a shopping spree. Step 2: Choose the workspace Your kitchen is probably the best space, as you’ll make a small mess of leaves and petals. If you prefer, you can do it somewhere outdoor.
Build your bouquet
Step 3: Pick the focal Flower Choose a focal flower and add 3-4 stems of foliage to circle the first one, sitting under the tips of the leaves. Add the second variety next to the foliage. Continue to place the rest of the flowers around the circle. Step 4: Secure the bouquet Use raffia or garden string to wrap around the stems a few times. Tie the ends closely to secure the whole arrangement.
VOILA!
You just finished your bouquet. Congrats are in order!
Would you rather have me arrange a gorgeous bouquet for you?
